Before you start
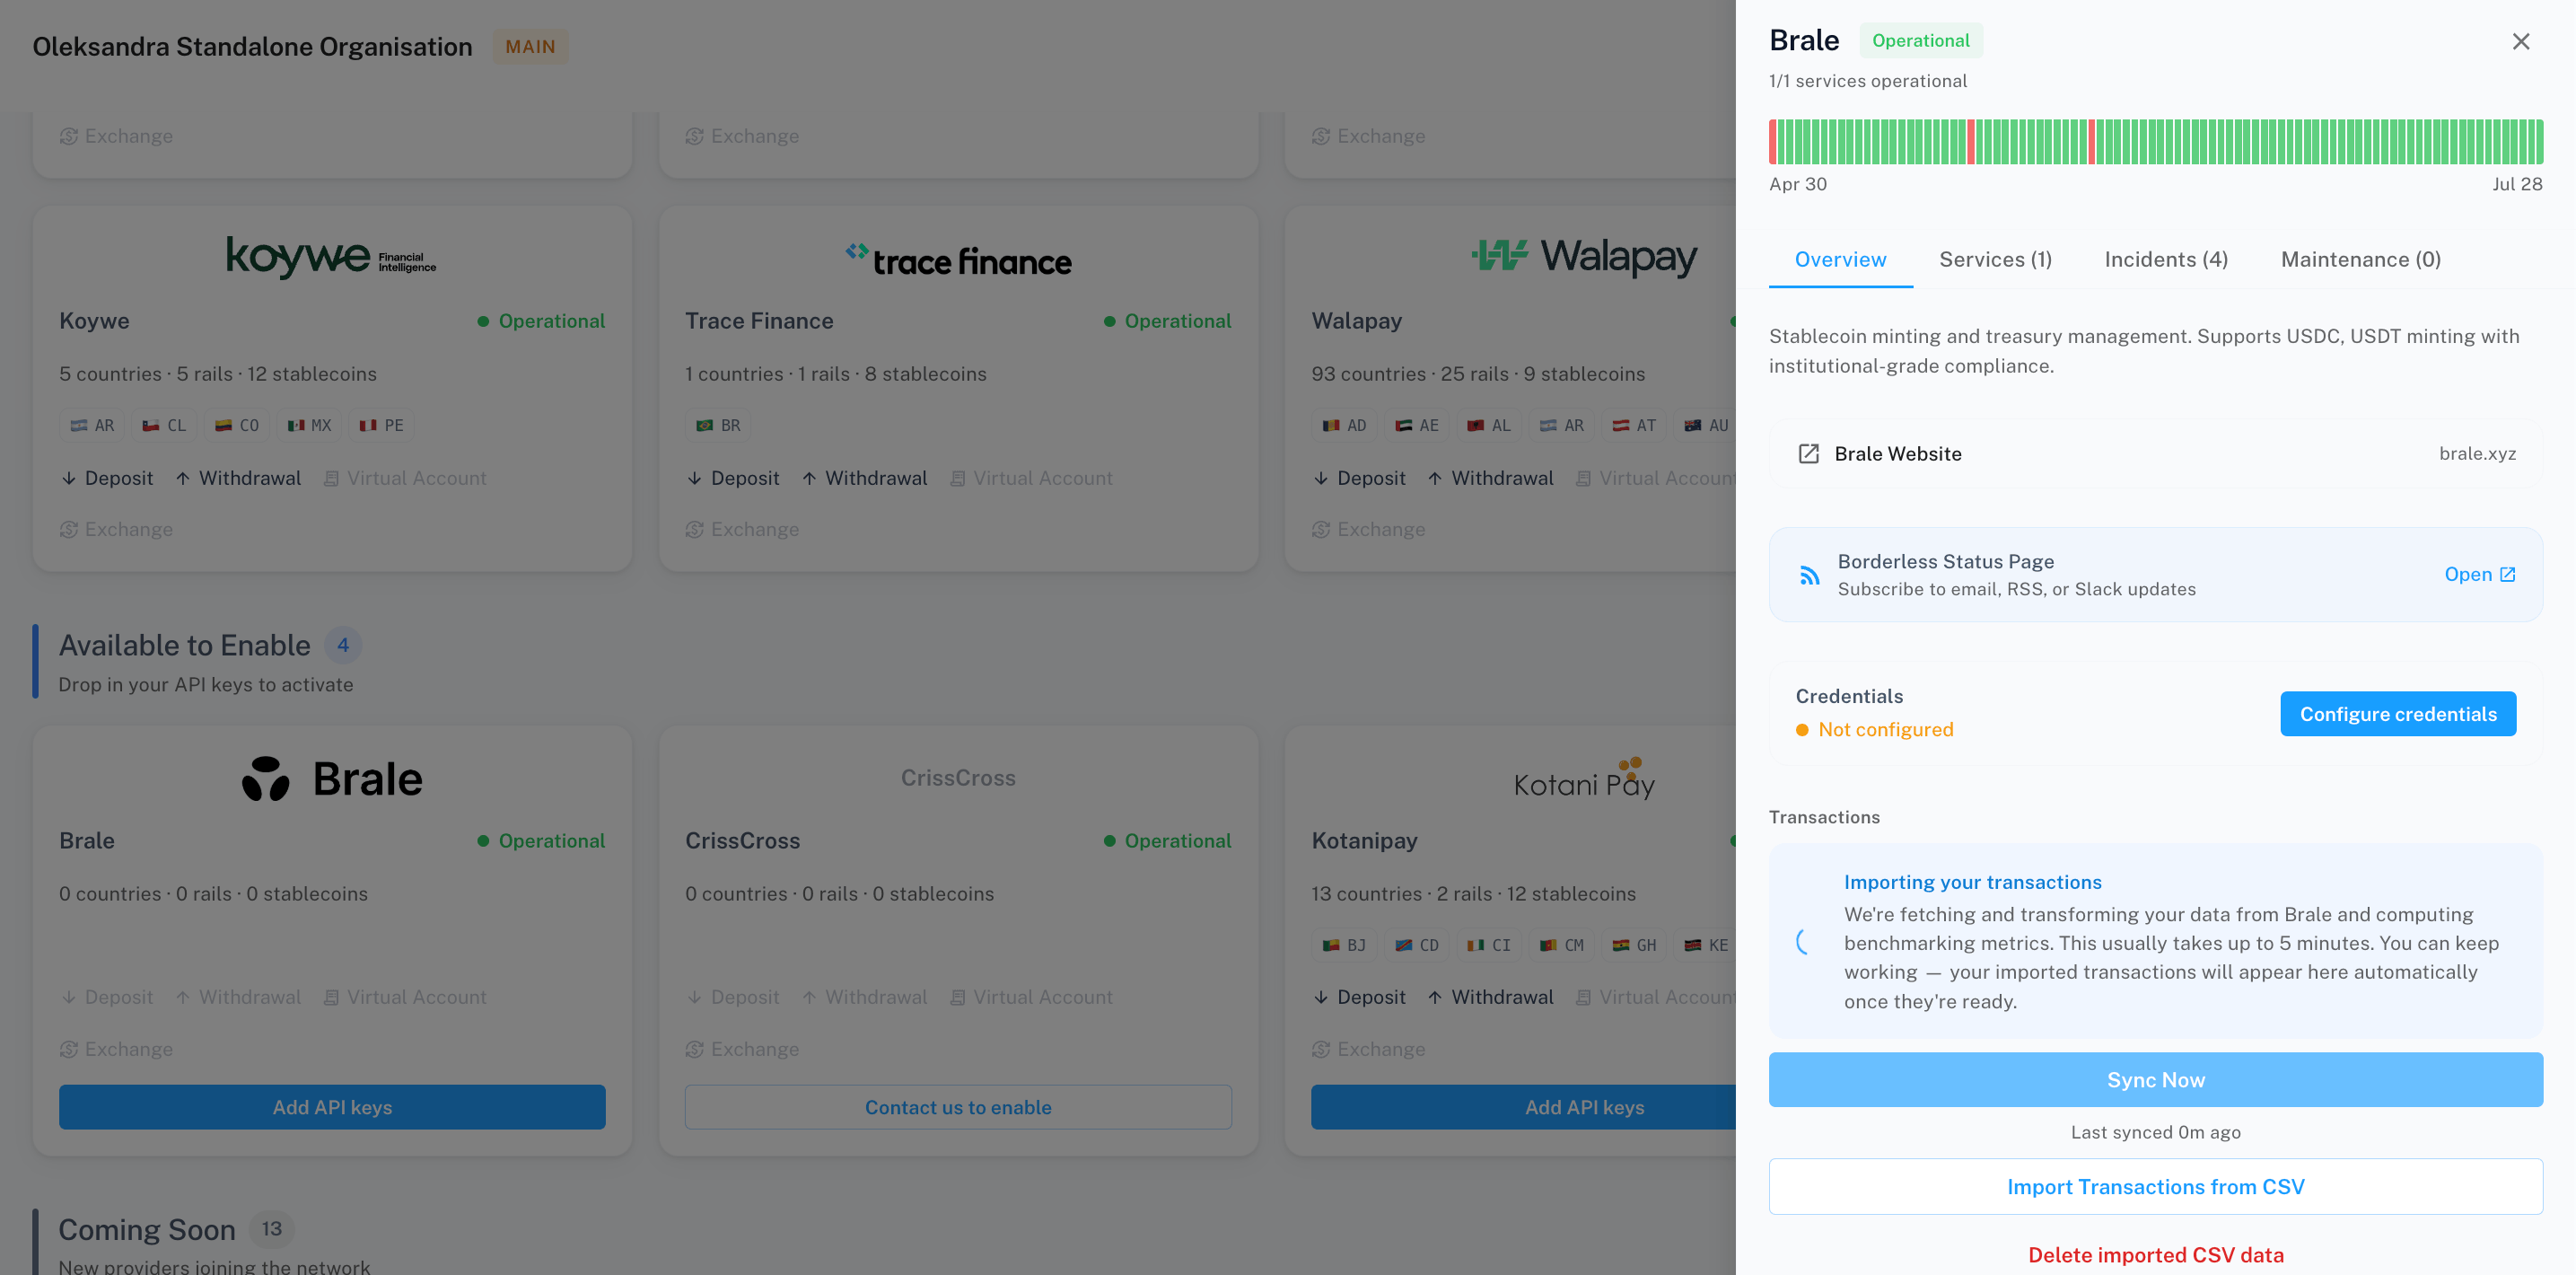
Anyone who can see the Reconciliation nav item can use everything in the Hub — no separate permission is needed. Importing transaction files is different: that lives on a provider’s page in Network, and only an organization Owner (or a user with integration permissions) can see or use it. If you don’t see the import option described below, that’s likely why.Open the Reconciliation Hub
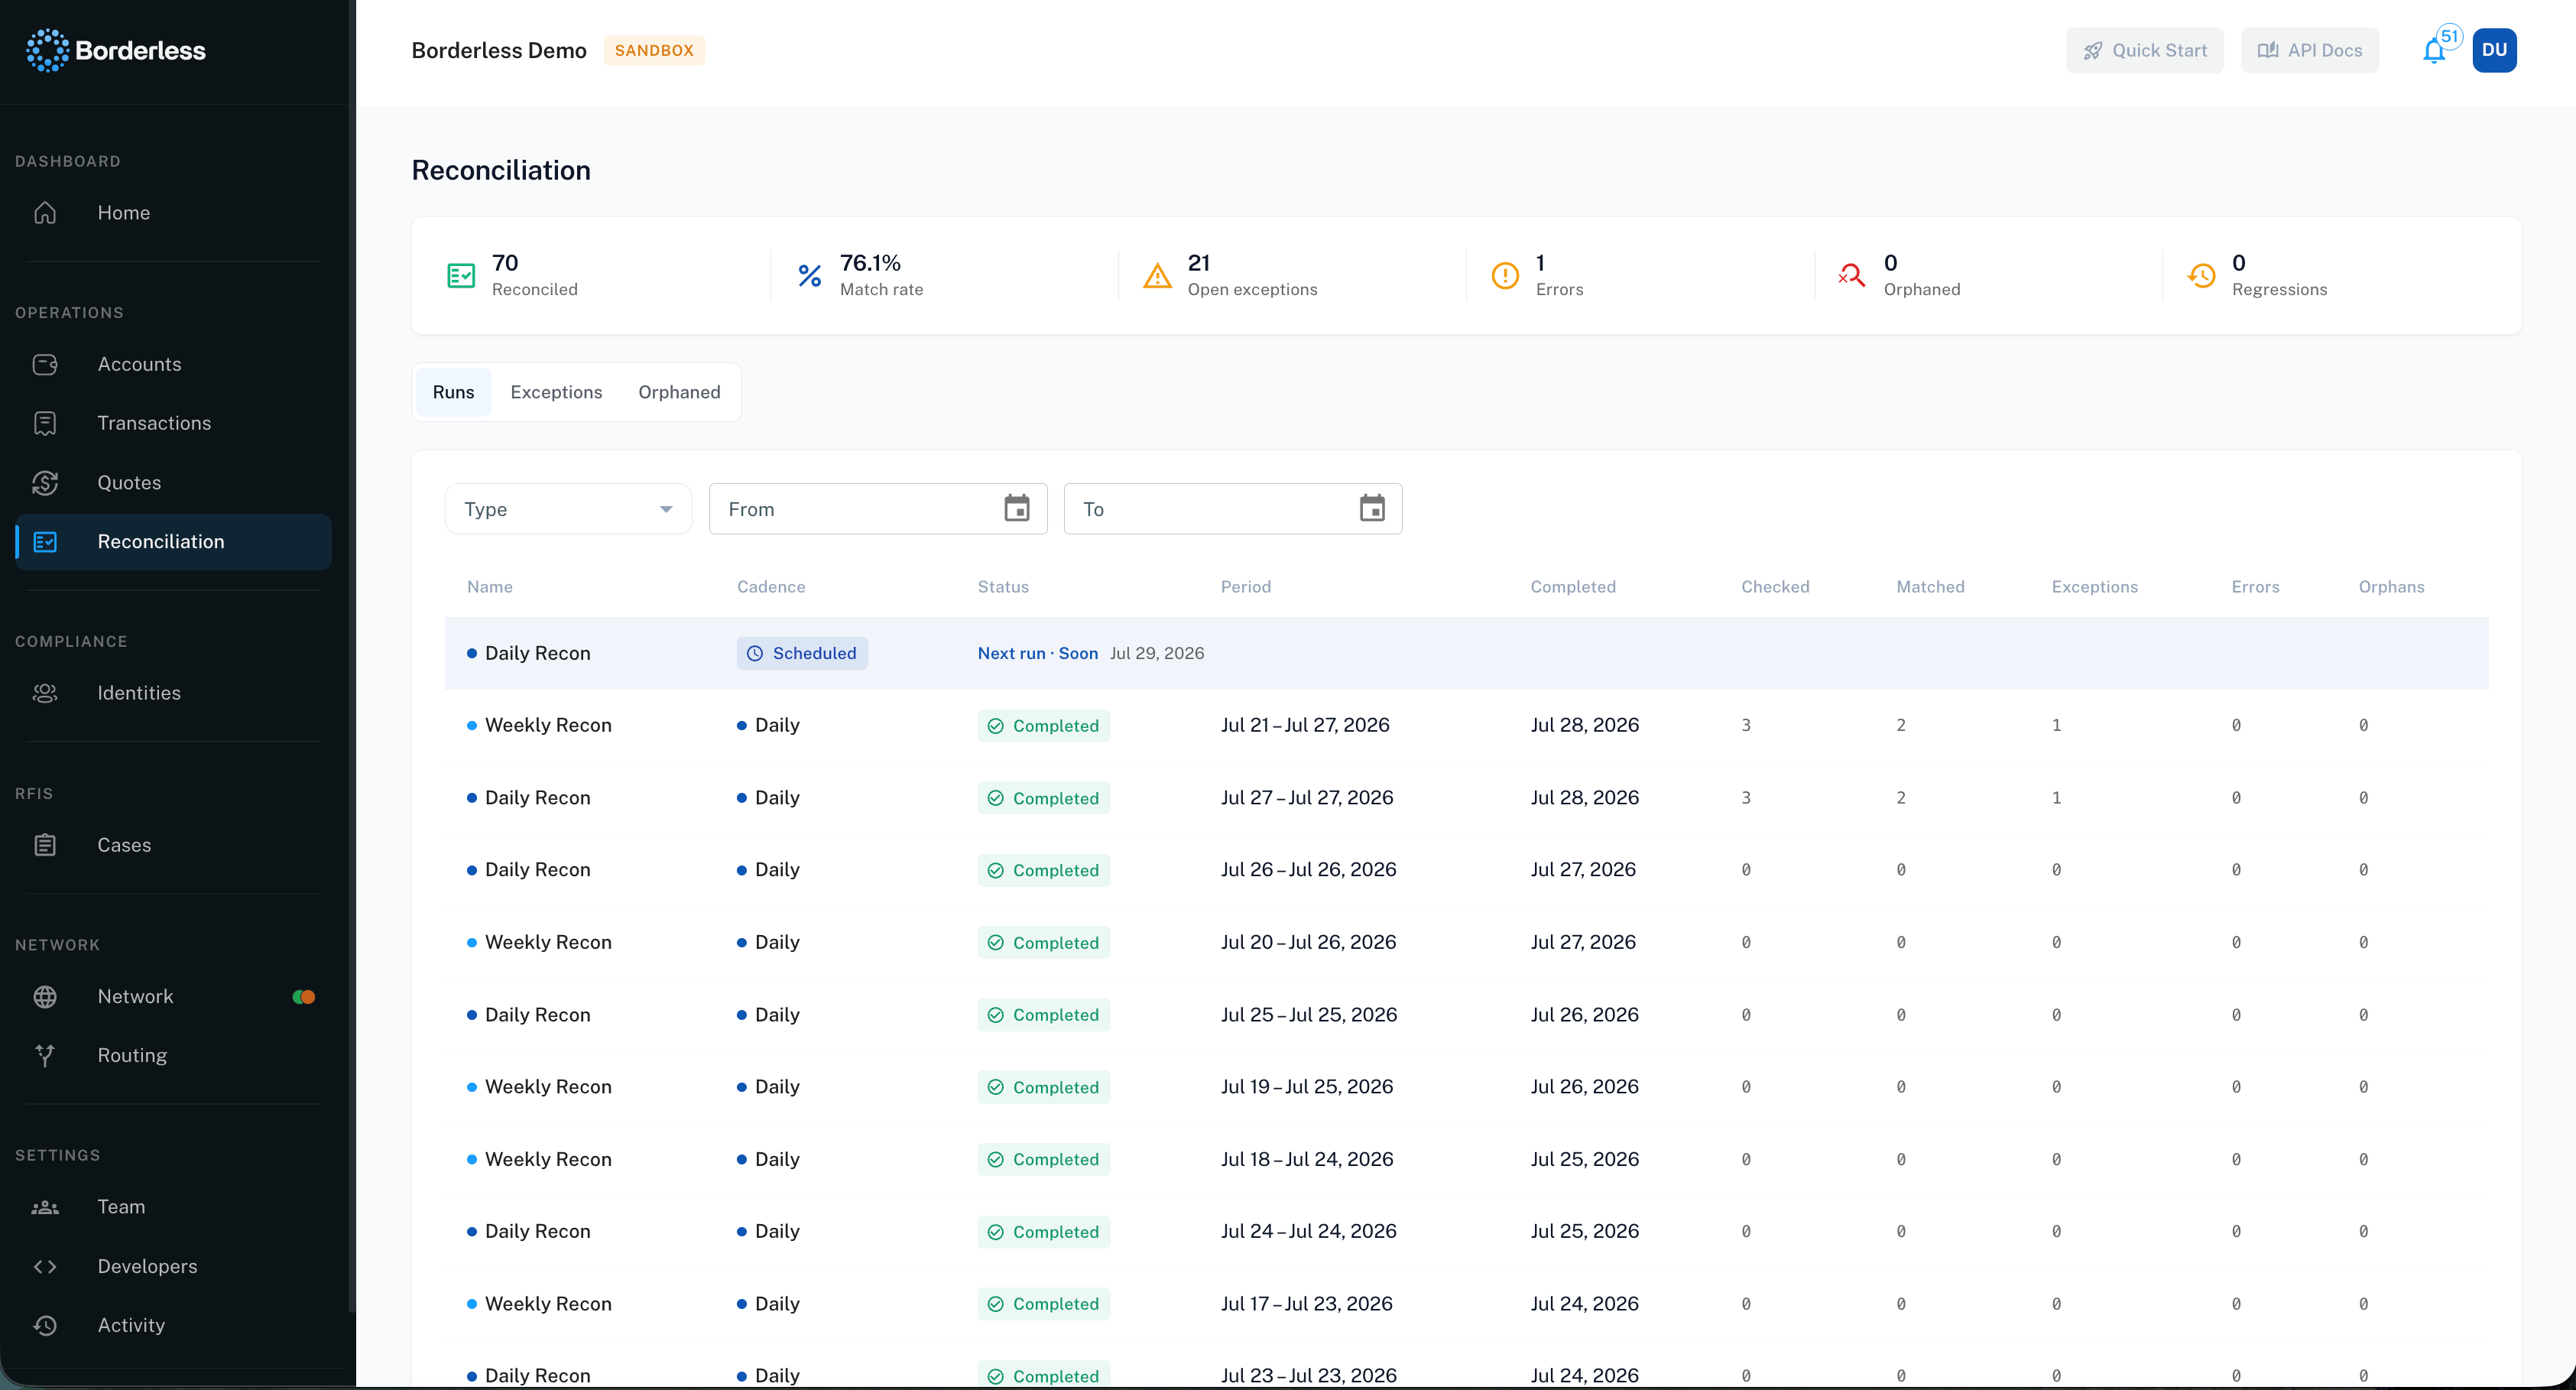
- Click Reconciliation in the left nav.
Review runs
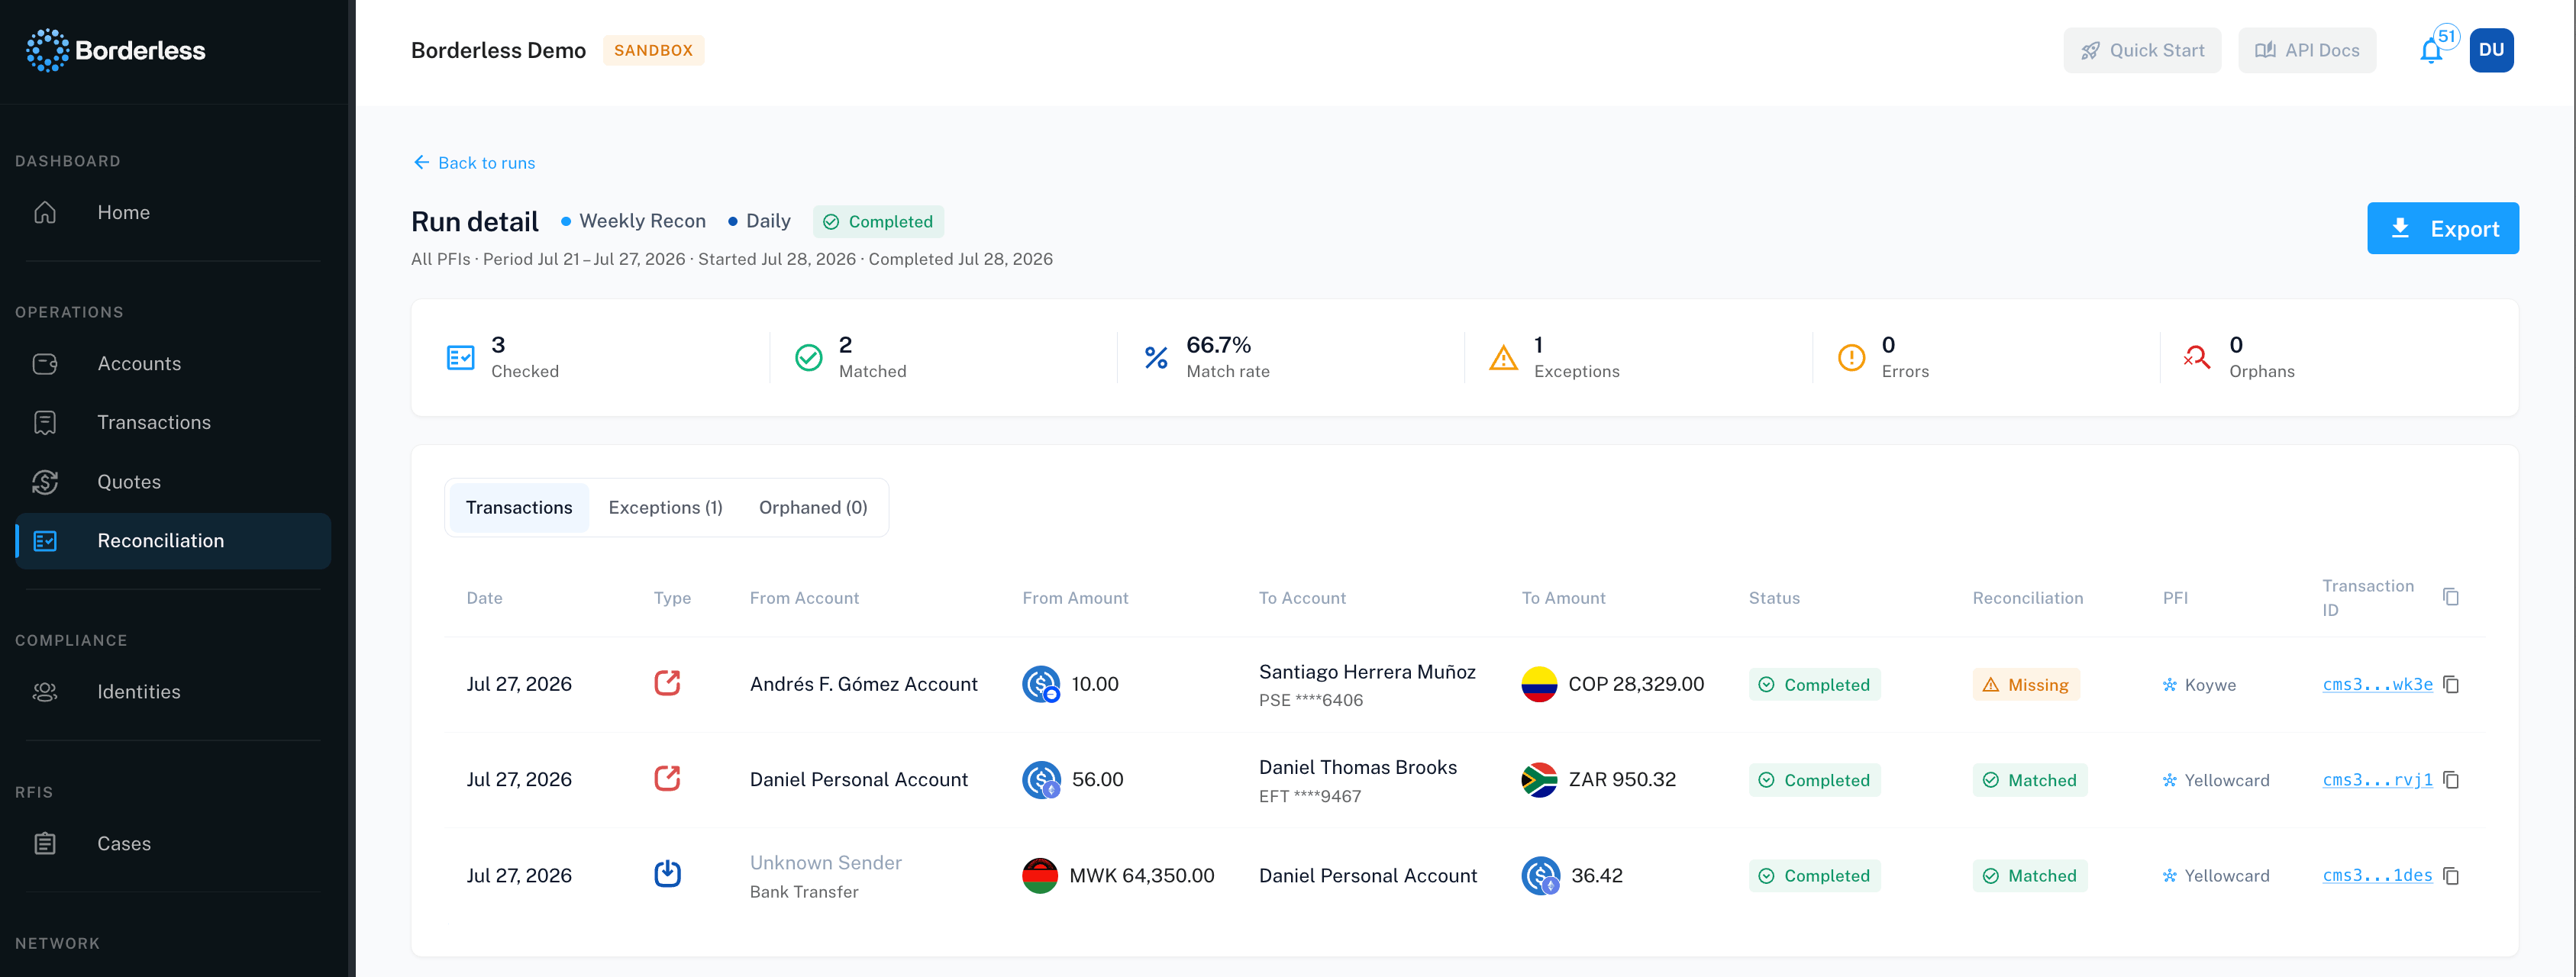
The Runs tab is the default view. It lists every run’s cadence, status, completion time, and counts for checked, matched, exceptions, errors, and orphans. Filter by Cadence and From/To date — there’s no PFI filter here, since a single run checks transactions across every provider at once. With no filters applied, a highlighted row at the top shows the next scheduled run, labeled Scheduled with its expected date. Apply any filter and that row disappears — it doesn’t mean nothing else is scheduled, just that it doesn’t match your filter.- Click any row in the runs table to open that run’s detail.
Open a run’s detail
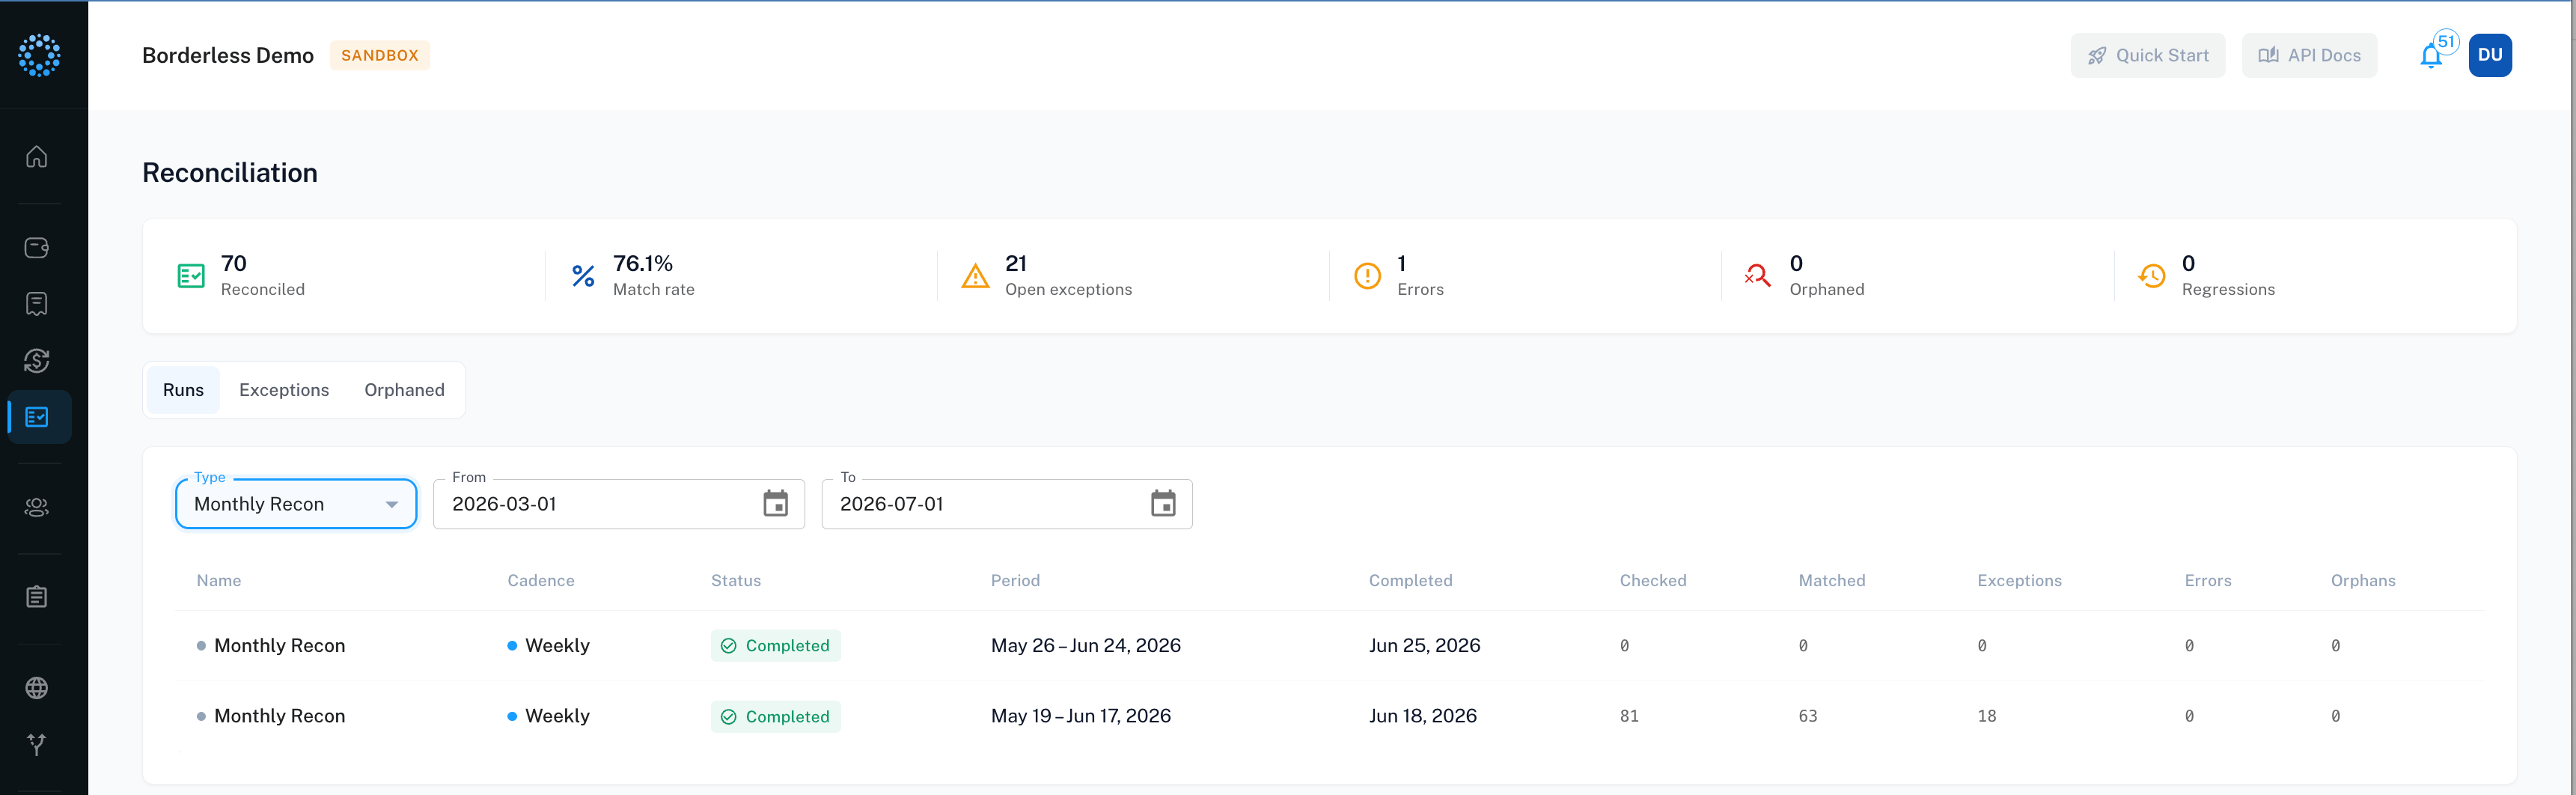
A run’s detail page shows its provider, start and completion time, and its own six-stat strip — but the labels aren’t identical to the Hub’s. You’ll see Checked, Matched, Match rate, Exceptions, Errors, and Orphans. The Hub’s single Reconciled tile splits into Checked and Matched here, and there’s no Regressions tile on a run’s detail page at all.- From the run header, click Export to download every transaction in the run as a CSV (named
{run-id}-transactions.csv), with columns for Transaction ID, Type, Status, PFI, source and destination amount/currency, Reconciliation status, and Updated at. A spinner shows on the button while it works — this can take a moment on large runs. - Use the three tabs below the header — Transactions, Exceptions, Orphaned — for the run’s detail lists. Each loads more rows automatically as you scroll.
- Click Back to runs to return to the Runs tab.
Work the Exceptions tab
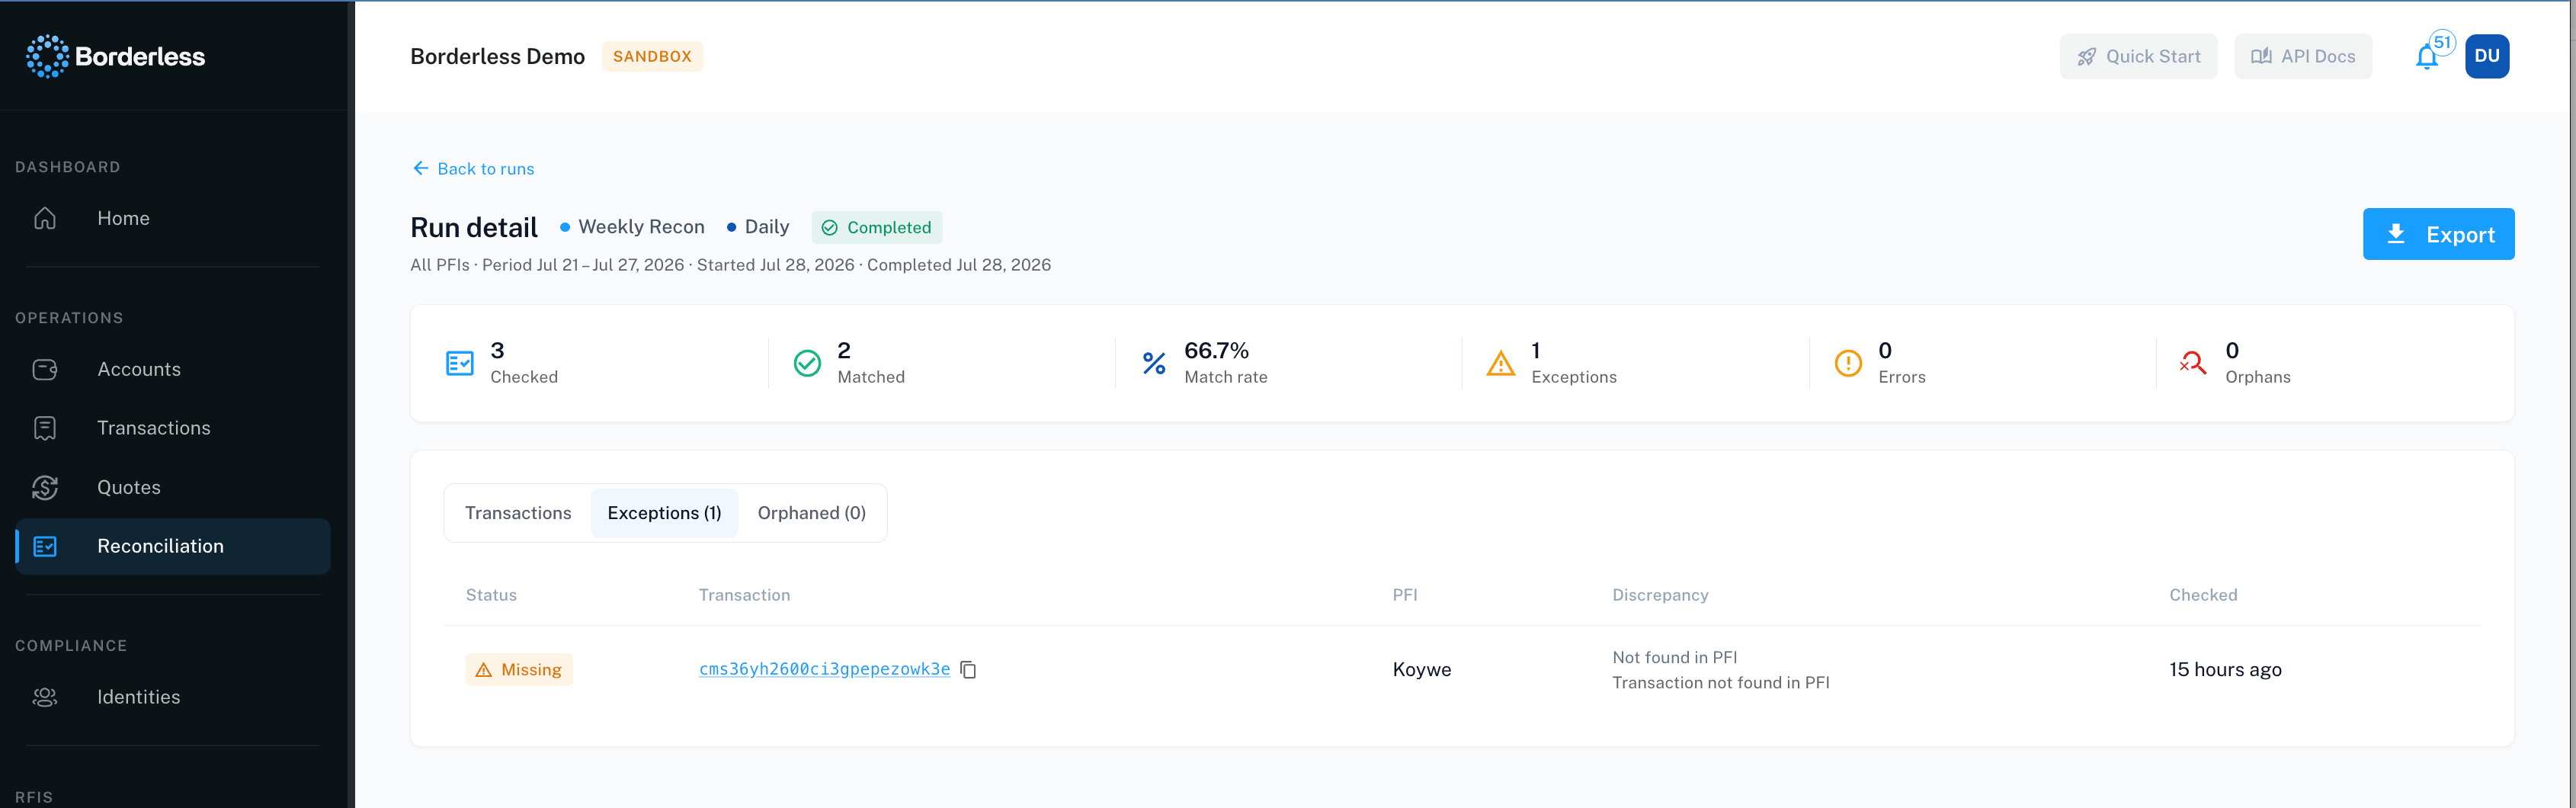
The Exceptions tab lists every open discrepancy — a transaction whose amount or status doesn’t match between Borderless and the provider, or one that only exists on one side. At the top, four tiles group open exceptions by age: 0–7 days (tagged Recent), 8–30 days (Watch), 31–90 days (Aging), and 90+ days (Critical). Older items carry more risk — clear those first.- Click an age tile to filter the list below to just that bucket. Click it again, or click Clear age filter, to remove the filter.
- Use the filters row — Cadence, From, To, PFI, Status — to narrow further. Status only appears on this tab, with options Mismatched and Missing (a PFI Error option is also listed, but provider errors are tracked under Errors rather than as exceptions, so the list always shows Mismatched and Missing items).
Check the Orphaned tab
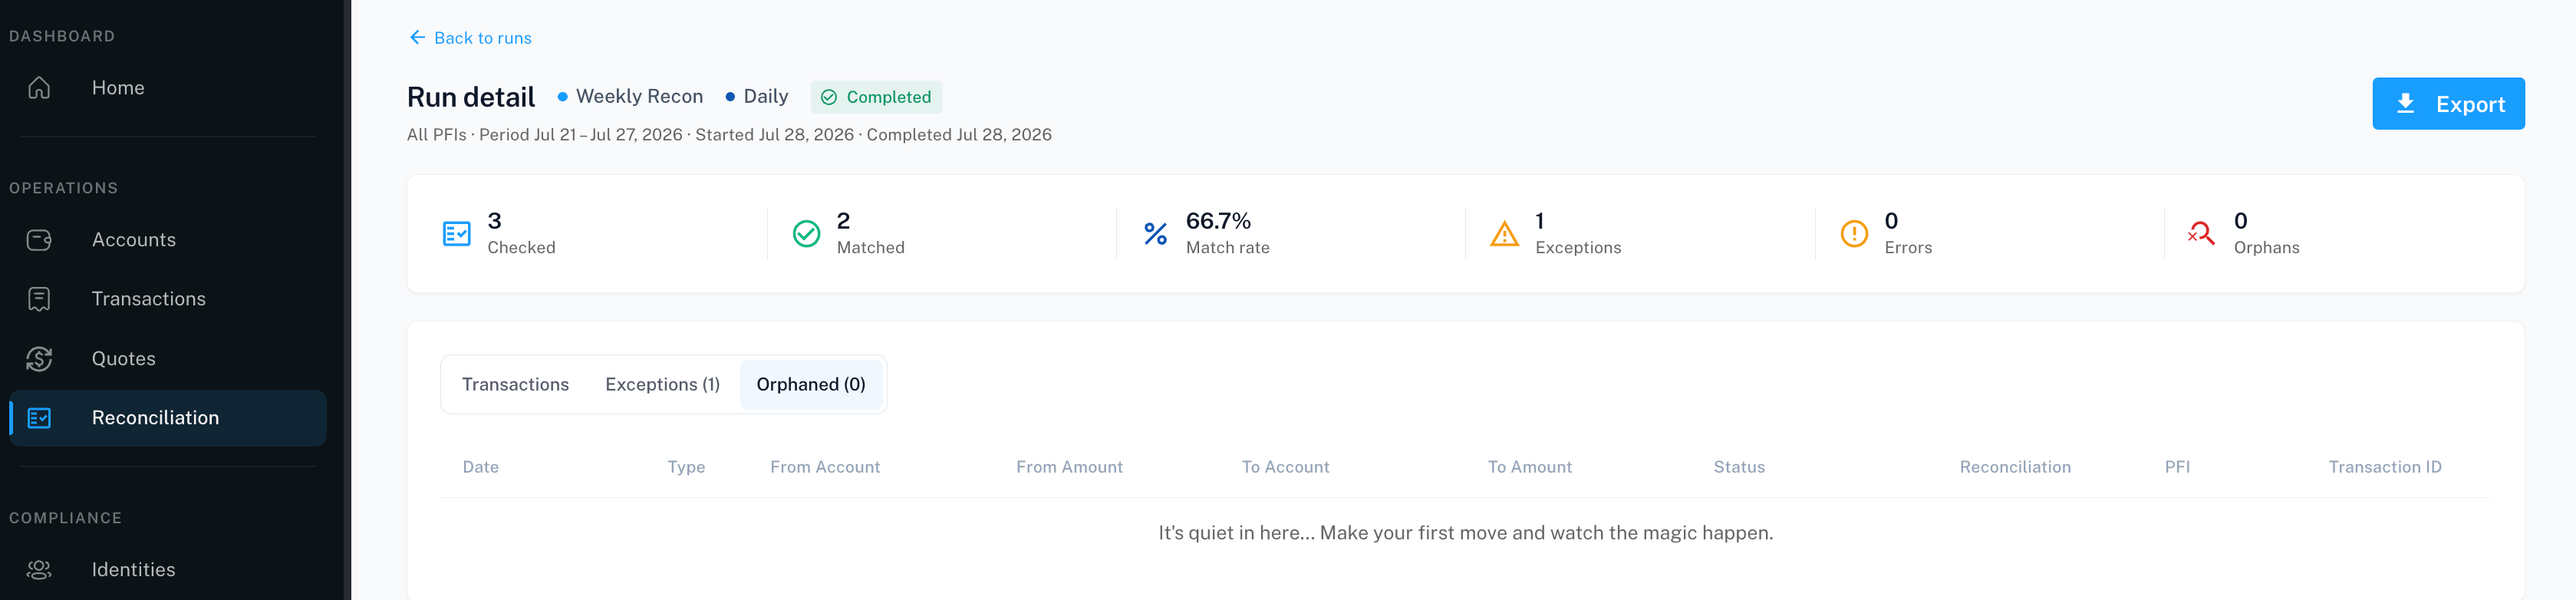
Orphaned lists transactions your provider reported that have no matching record on the Borderless side. Filter by Cadence, From, To, and PFI (there’s no status filter here).- Click any row to open that transaction’s own detail page — a summary of the amount flow, the provider’s status for it, and the raw data the provider reported it with.
Import transactions from a provider
If a provider processed transactions off-platform, you can bring them into Borderless to complete your history and include them in execution benchmarking. This isn’t on the Reconciliation page — it’s on the provider’s own page. There are two paths: syncing via the provider’s API (where supported, using your own credentials) or uploading a CSV. One important distinction: transactions imported via CSV are not reconciled. Reconciliation works by re-checking a transaction against the provider’s API, and a CSV row has no live counterpart to check — Borderless has no way to fetch its current state. CSV import is for completing your records and benchmarking, not for verification. Where the API sync option exists, prefer it.- Go to Network, open the provider’s drawer, and go to its Overview tab.
- Click Import Transactions from CSV. If you don’t see this option, you likely need Owner access or integration permissions — see “Before you start” above.
- In the Import transactions modal, click Download template if you need the CSV format: a header row (
externalId,type,status,asset,network,fiat,assetAmount,fiatAmount,exchangeRate,date) with one example row. - Click Choose CSV file and select your file.
- If every row is clean, you’ll see “{n} rows ready to import.”
- If any row has a problem, you’ll see how many rows have errors, followed by a line for each (“Row {n}: …”). Fix the file and choose it again to re-validate.
- Once validation passes, click Import.