You can export transaction data from the platform in two places: the Transactions page and a reconciliation run’s detail page. Both produce a CSV file. This guide covers where to find each export, what you can filter by, and what to do if an export fails.

Before you start

Whether you see the Export button on Transactions depends on your role. Owners always see it. Custom-role users need the Export Transactions permission assigned — without it, the button won’t appear, and your organization’s admin can grant it from the Permissions screen. Viewer-role users never see the button, even if the permission were somehow assigned to them; that requires a role change, not a permission grant. Exporting from a reconciliation run’s detail page has no permission requirement.

Export transactions

  1. Go to Transactions under Operations in the left nav.
  2. Click Export in the page header, next to Filters.
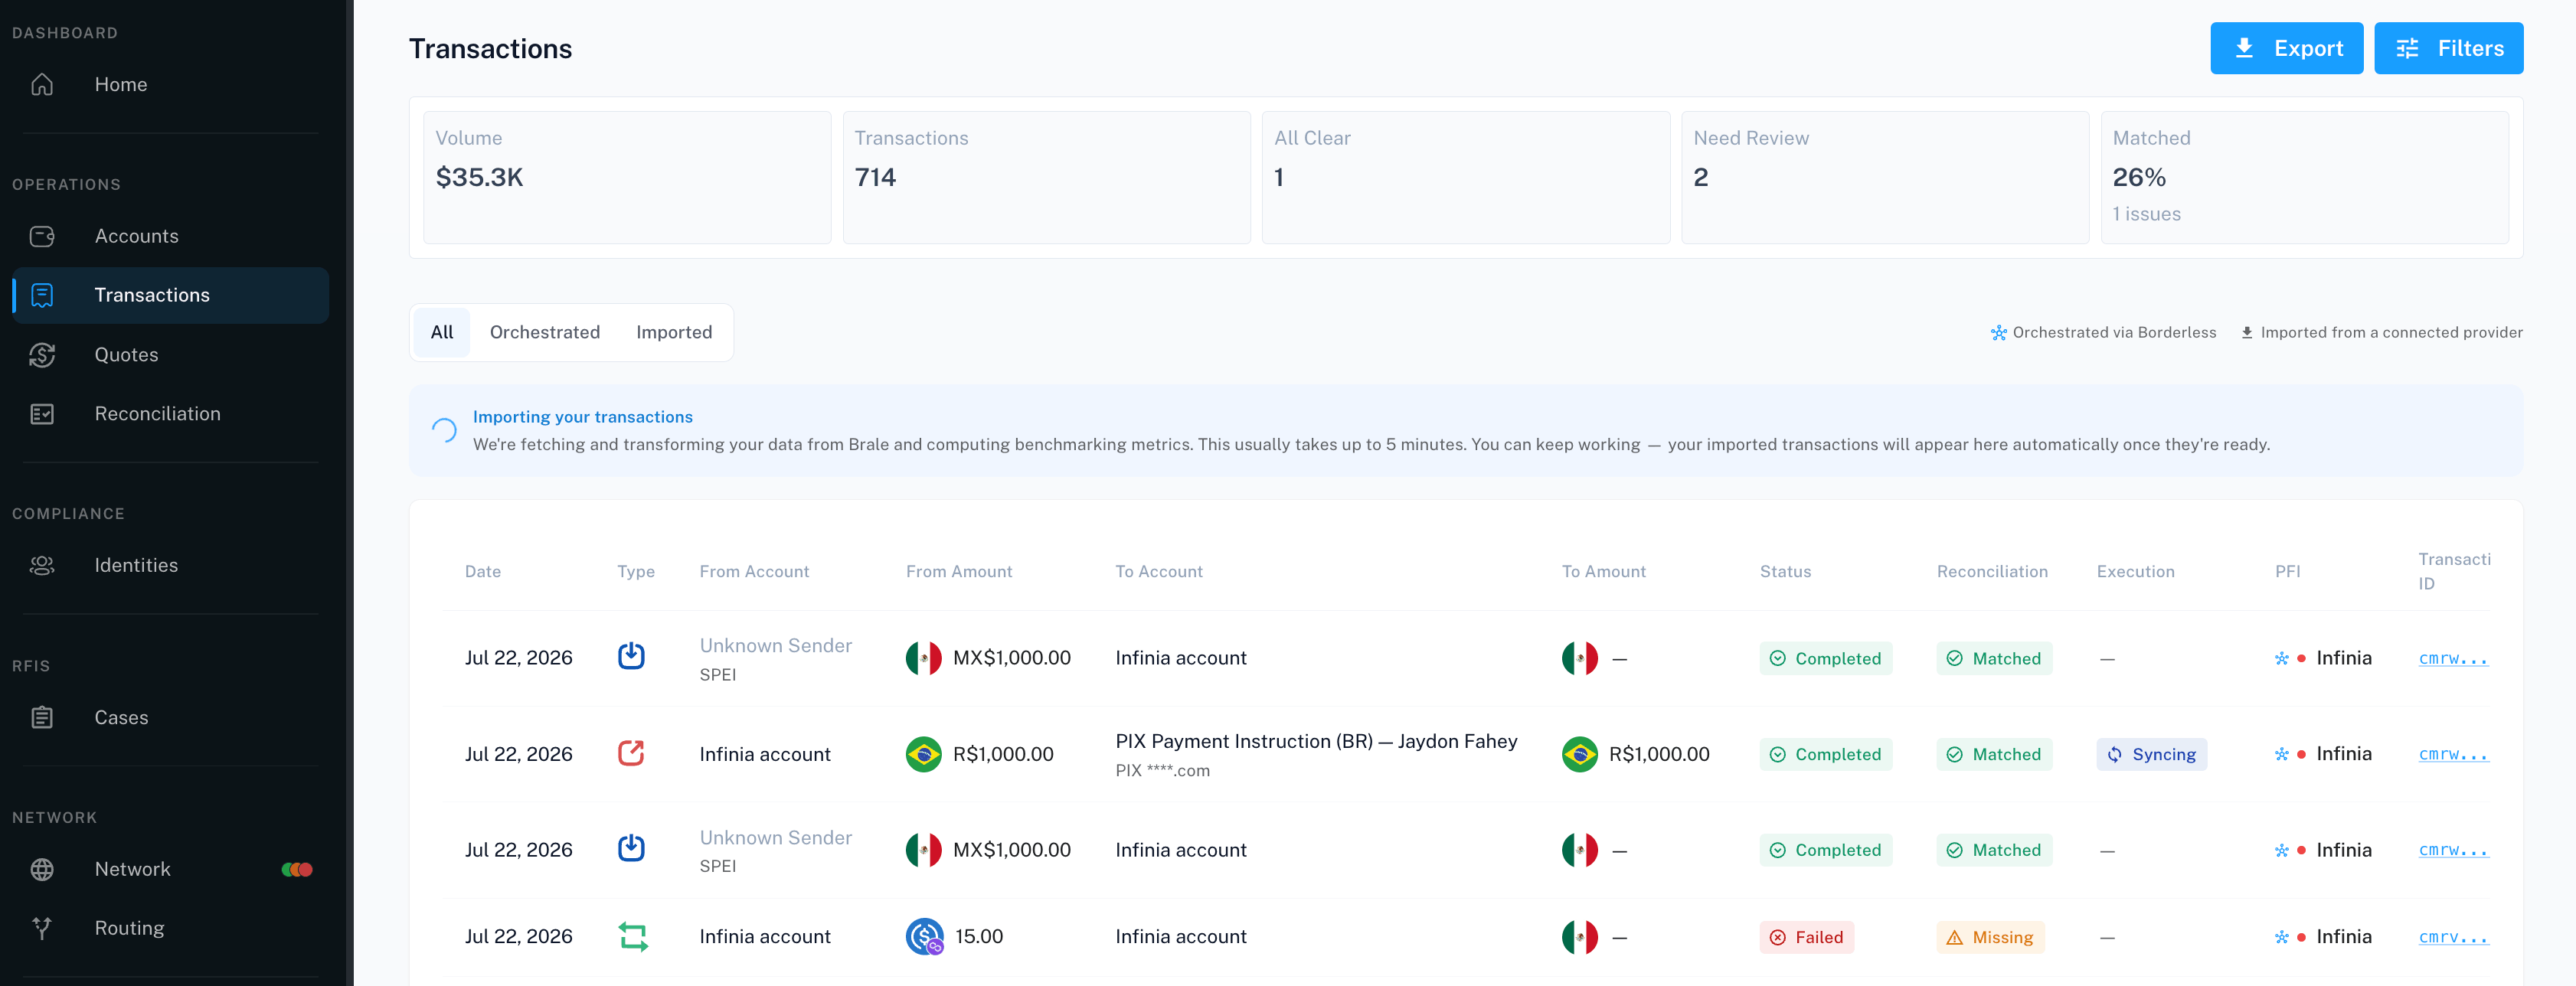
Transactions page header with the Export button
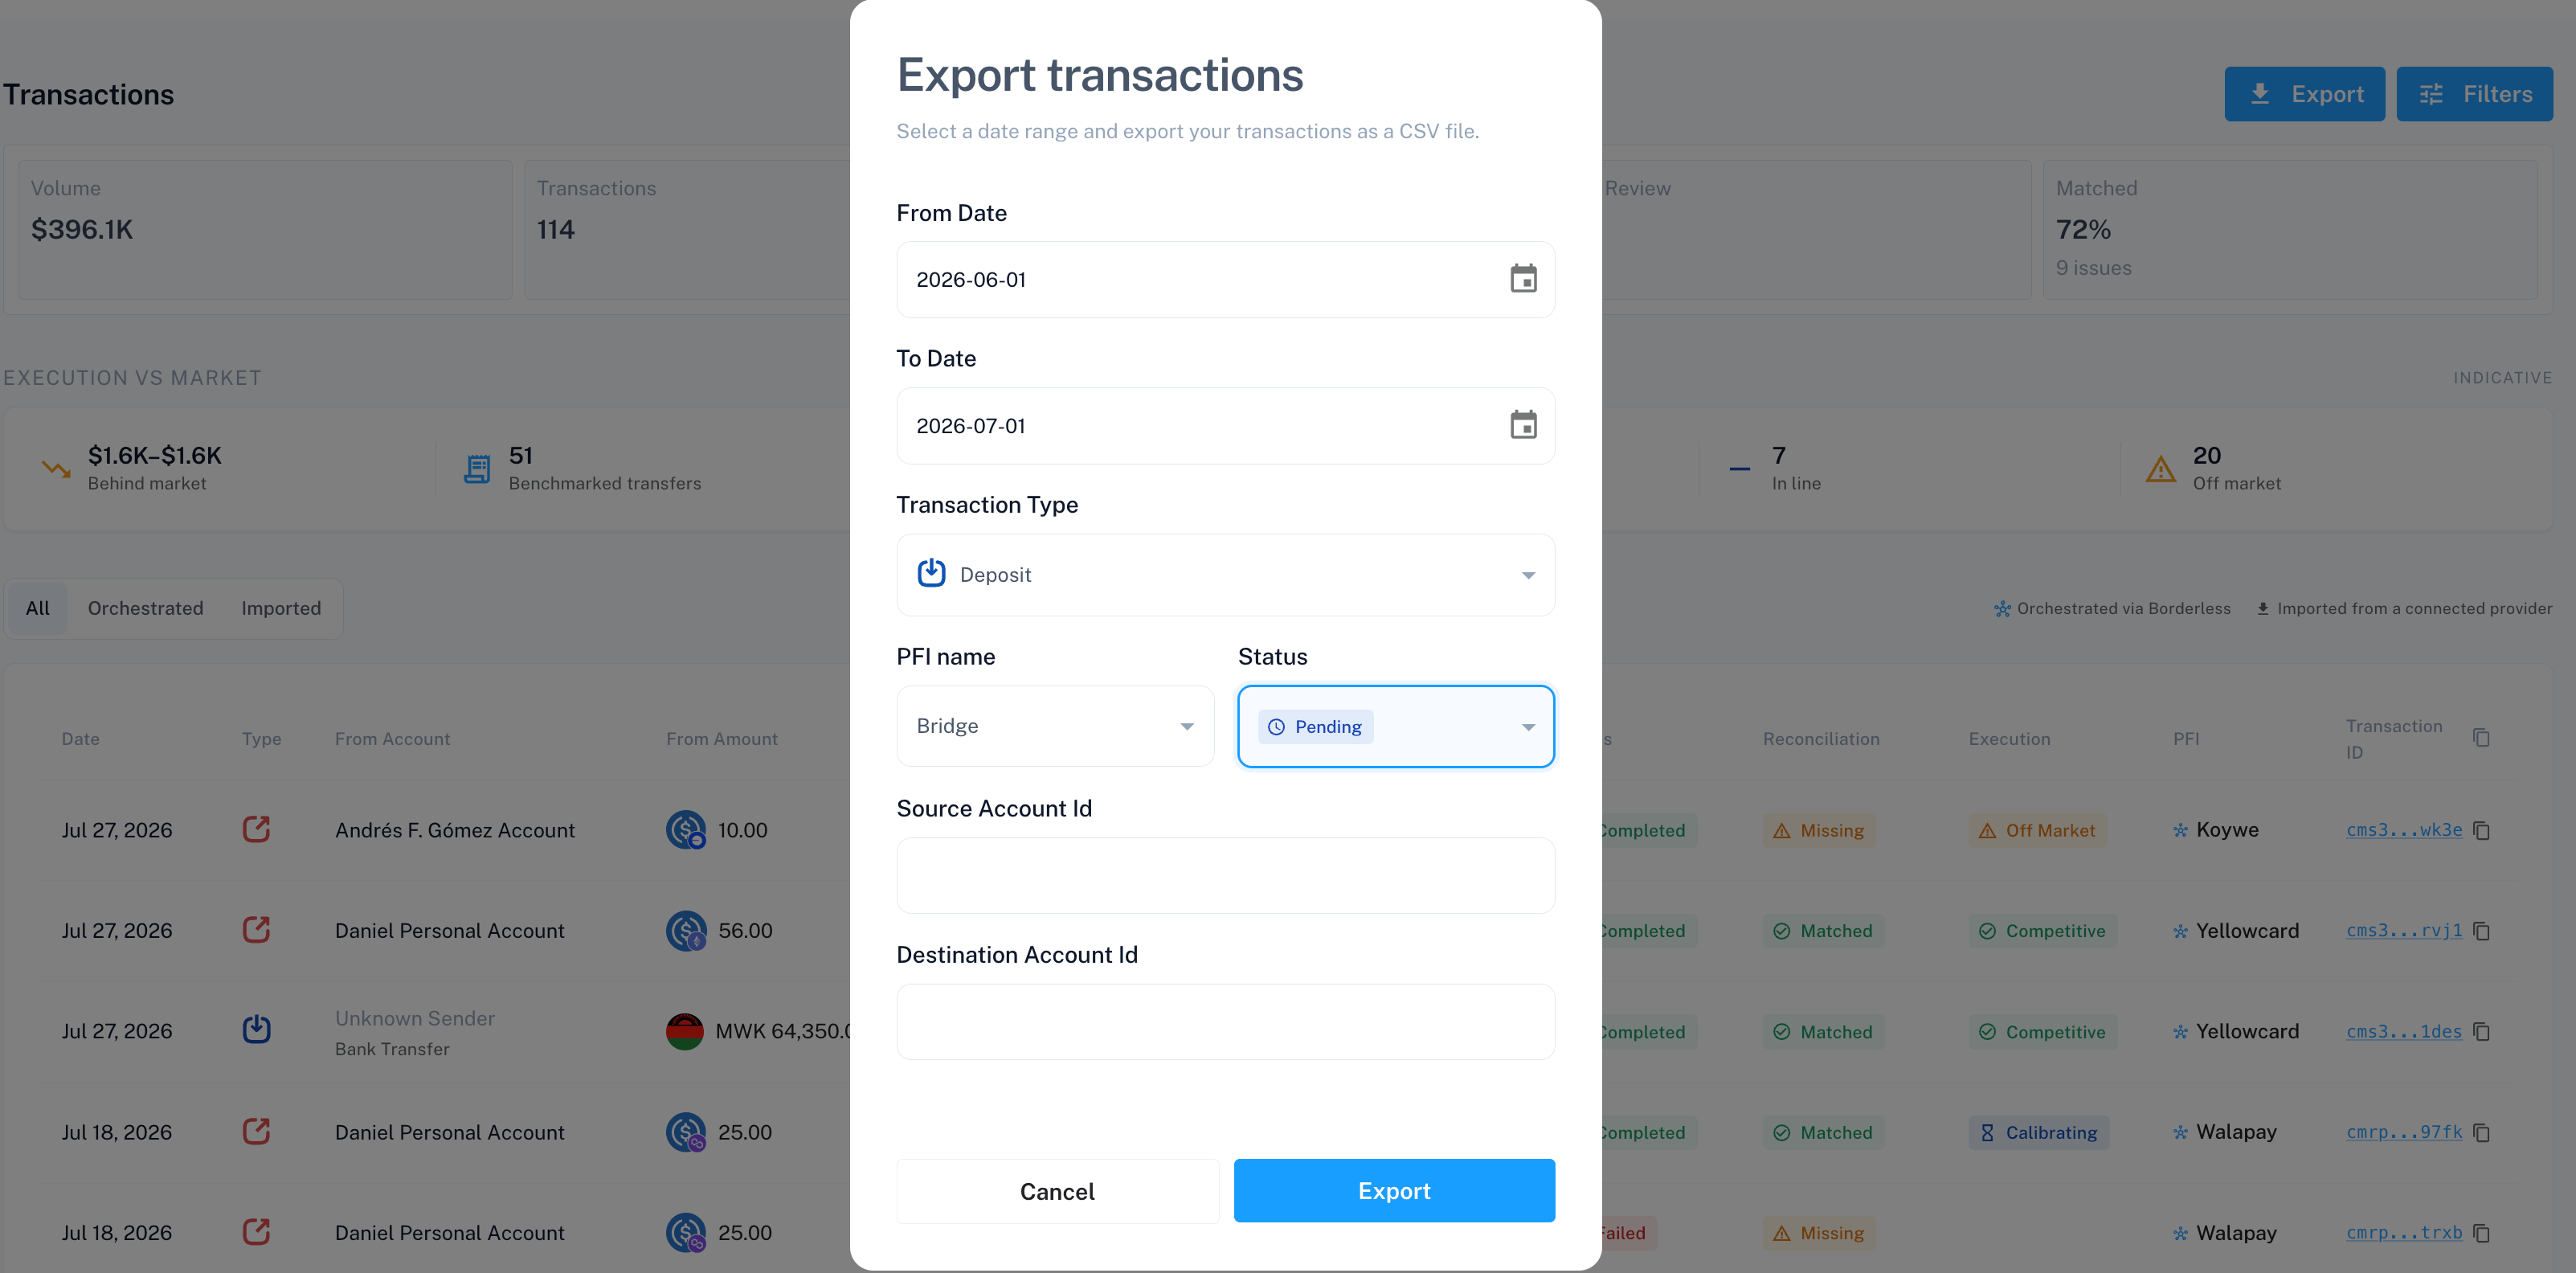
  1. In the Export transactions modal, set any filters you want. All of them are optional:
These are the only filters the export modal offers. The on-page Filters drawer also supports benchmark status, reconciliation status, country, currency, and asset filters (depending on your organization’s settings), but none of those carry over to export — there’s no way to export, say, only unreconciled transactions or only flagged transactions directly. Use the export modal’s date range, type, provider, status, and account filters to narrow things as far as they’ll go.
  1. Click Export.
Export transactions modal with date range and filter fields The button shows a spinner while the file generates, then downloads automatically and closes the modal. You’ll see “Transactions are successfully exported.” Leaving every field blank exports your full transaction history as transactions.csv. Filters change the filename too — for example, a date range alone produces transactions_2026-06-01_2026-07-17.csv, and adding a provider and status filter appends those to the name (lowercased), so you can tell what’s in a file without opening it. The Export button only appears on the main Transactions page — it’s not available if you’ve drilled into a single account’s transaction list.

Export a reconciliation run

Each reconciliation run has its own export, separate from the Transactions export above, and it isn’t filtered the same way.
  1. Go to Reconciliation under Operations in the left nav.
  2. In the Runs tab, click a row to open that run’s detail page.
  3. Click Export at the top of the Run detail page.
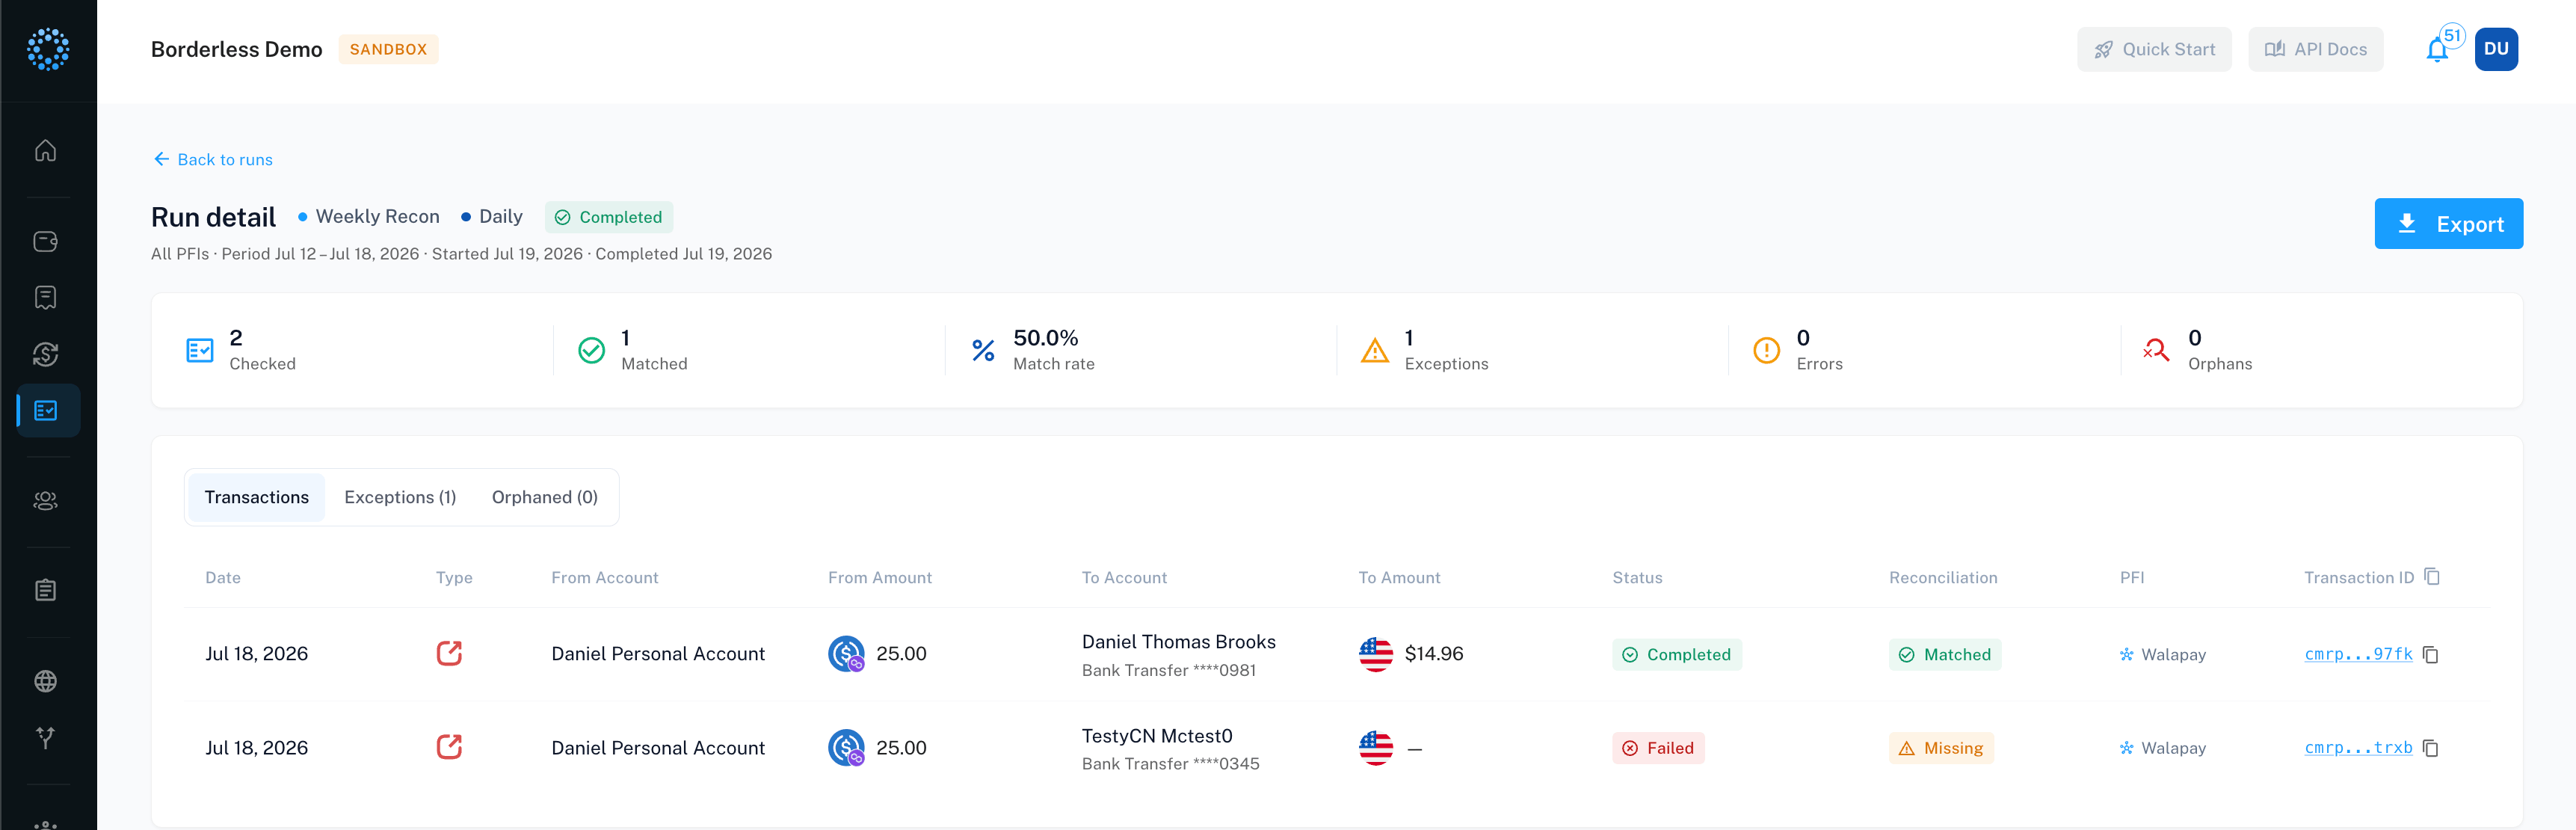
Run detail page with the Export button in the header This downloads a CSV named {runId}-transactions.csv containing every transaction in that run. It always exports the Transactions tab’s data, even if you have the Exceptions or Orphaned tab open when you click — there’s no way to export exceptions or orphaned rows separately. For a large run, this can take a while: the export gathers the full result set (up to 20,000 transactions) before building the file, and the only feedback while it works is a loading spinner on the button. If a run has more than 20,000 transactions, the export stops there with no warning — the file downloads normally and looks complete, but the rows beyond 20,000 are silently missing.

Troubleshooting

My Transactions export failed. You’ll usually see “Failed to export transactions. Please check back shortly.” If the API rejected the request for a specific reason — an invalid filter combination, for example — you may see that message instead. Either way, check your filters and try again. A reconciliation run export capped out below the run’s actual size. Runs over 20,000 transactions export silently truncated — see the note in “Export a reconciliation run” above. There’s no in-app warning when this happens, so for a run that size, check the run’s total transaction count against the row count in the downloaded file before treating it as complete. I got “An error occurred during file conversion process”. This means the file downloaded but couldn’t be assembled into a CSV on your device. Retry the export. A reconciliation run export seems stuck or never downloaded, with no error message. This tab doesn’t show an error toast if the export fails partway through — only the spinner clearing. If nothing downloads after a wait, try the export again. My account ID filter won’t validate. Source and destination account IDs must be exactly 25 characters. A pasted ID with extra whitespace or a partial ID will fail with “Id must be 25 characters long” — check for stray spaces and re-paste. I don’t see an Export button on Transactions. If you’re on a Custom role, you need the Export Transactions permission — ask your admin to grant it from the Permissions screen. If you’re on a Viewer role, a permission grant won’t help; that role never gets the button, so you’d need a role change instead. Or use the reconciliation run export if you’re trying to pull transactions tied to a specific run. I’m looking for an export on the Activity page. Activity doesn’t have one. It’s a table you can scroll, with no download option. I need a PDF, not a CSV. Transactions and reconciliation runs only export as CSV — there’s no format choice. If you need a payment or withdrawal instructions PDF for a single transaction, look for the download icon on that transaction’s instructions view instead; it’s a separate, single-record download.