Review and remove team members
The Team Members table on the Team page lists everyone in your organization: name, ID, email, business title, role, and MFA status. If you have permission, a delete icon on each row removes that person — a confirmation modal asks you to confirm, and the action can’t be undone. To bring someone back, re-invite them as a new user.Edit a permission group
Click the edit icon on a group’s row in the Permission Groups table. The Edit Permission Group form mirrors the create form: adjust the Name or Description, flip permissions on or off by section, and click Update Group to save. Changes apply to every member of the group.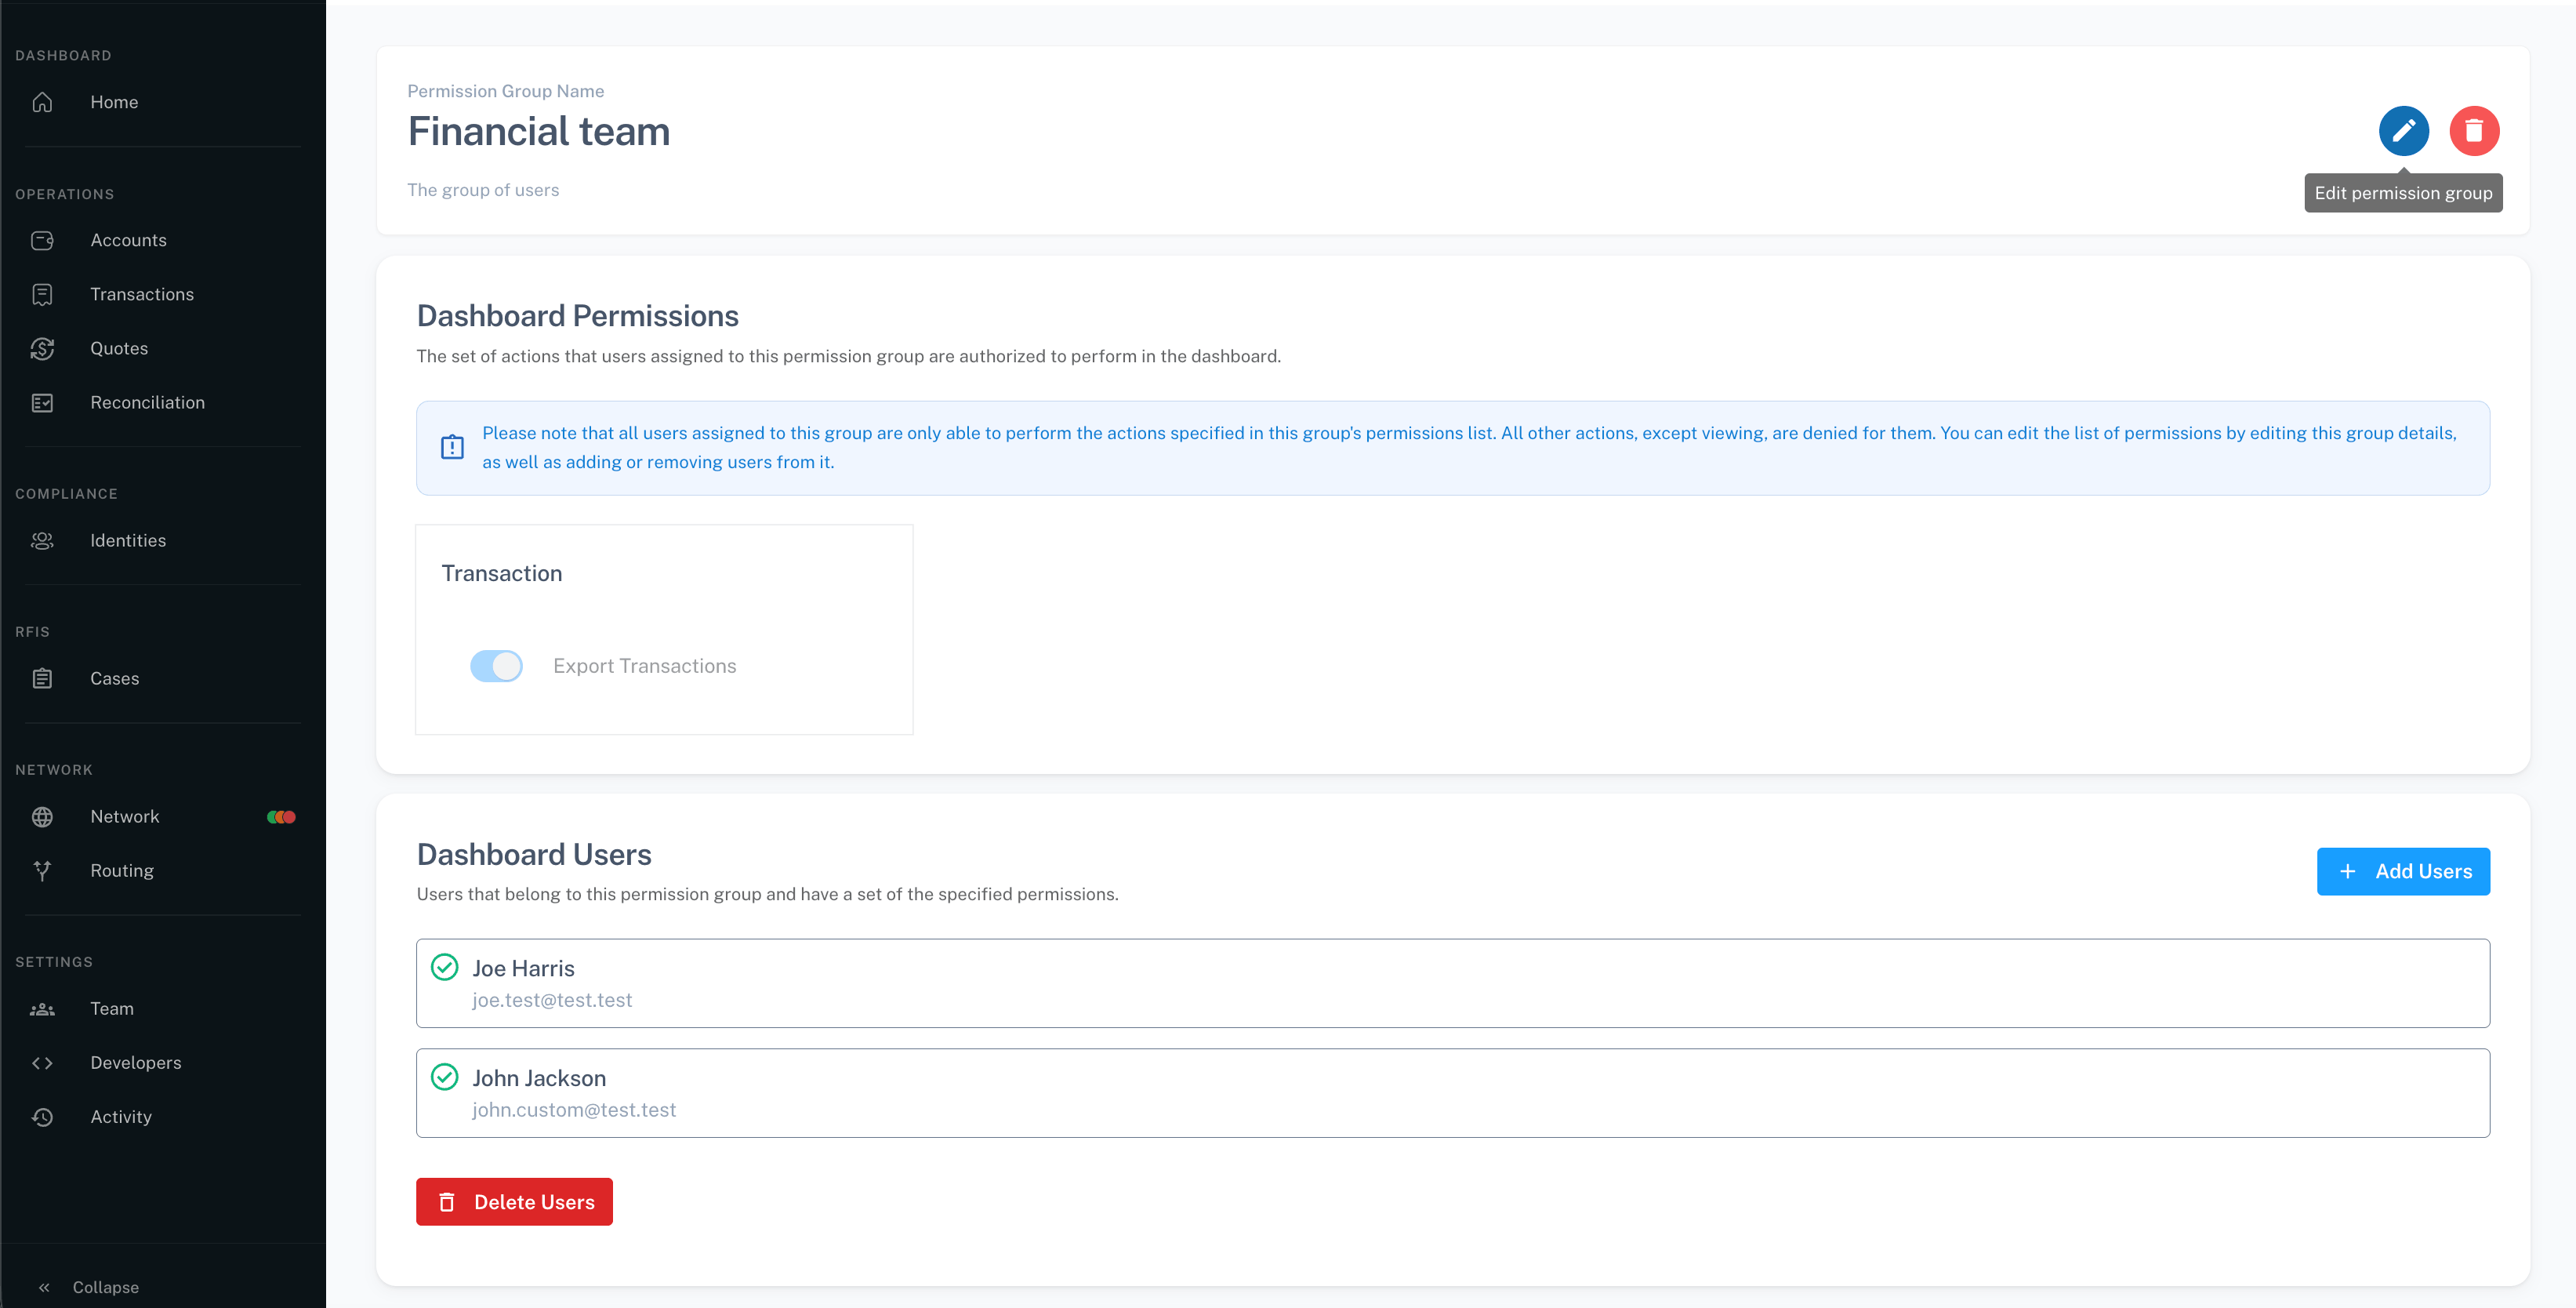
Add users to a group
Only users whose role is already Custom can belong to a permission group — Owners and Viewers can’t be added.- Open the group’s details page from the Permission Groups table.
- Click Add Users.
- Select from the list of Custom-role users and confirm.
Remove users from a group
Removing members is a deliberate three-click flow:- Click Delete Users to enter selection mode.
- Check the people to remove, then click Confirm Deletion.
- Click Remove in the confirmation modal that opens.
Delete a permission group
Deleting a group removes every member’s access to those permissions immediately. You’ll be asked to confirm first. If members still need a subset of those permissions, create or assign a replacement group before deleting.Set a default refund destination
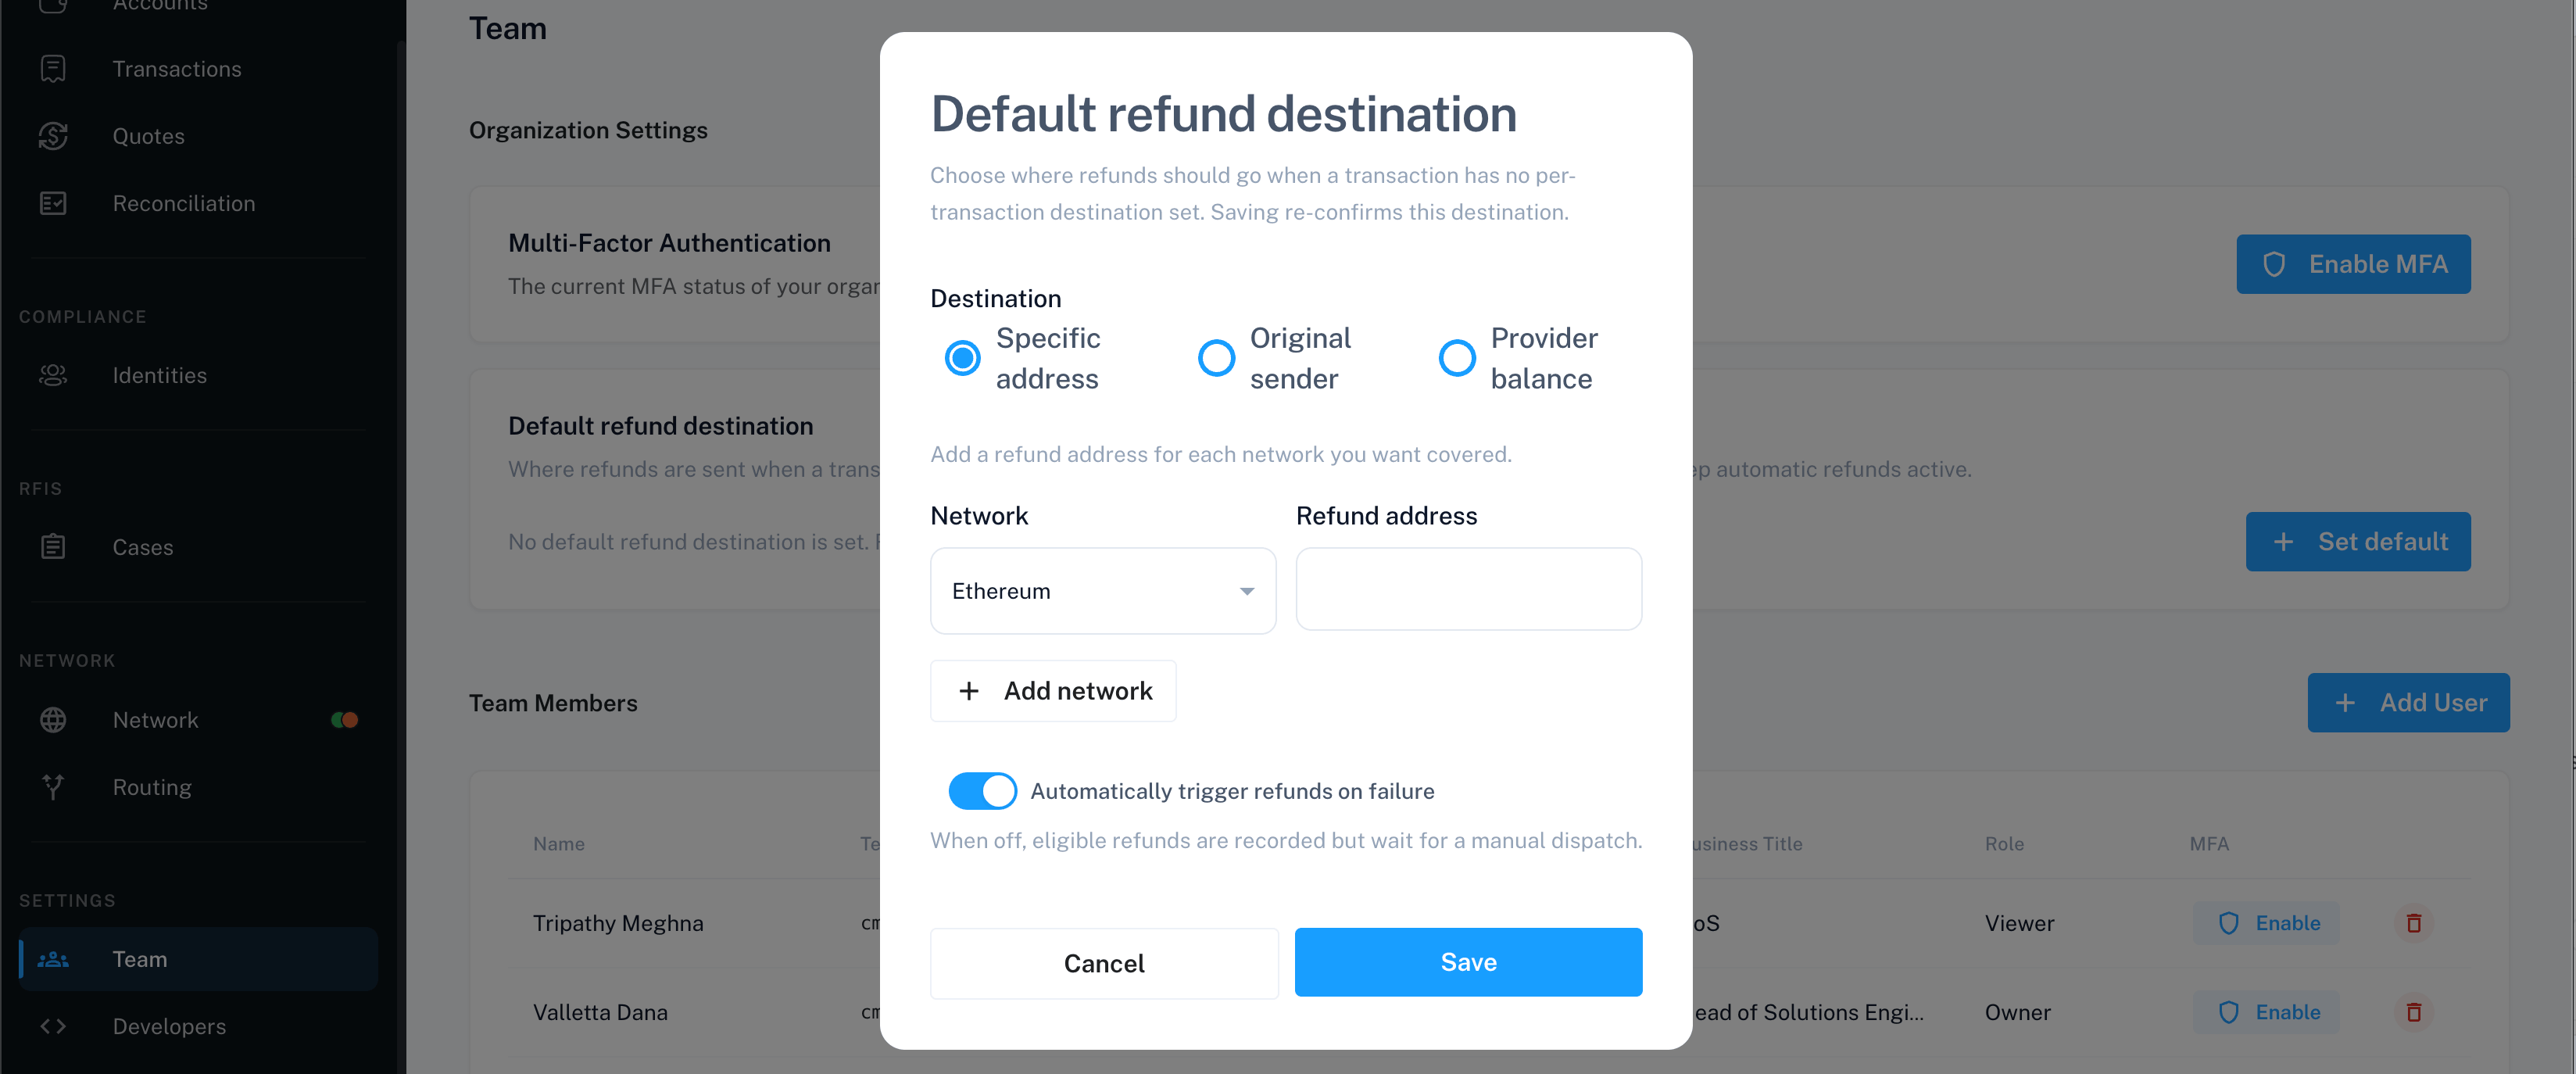
Under Organization Settings on the Team page, the refund destination card controls where refunds go when a transaction doesn’t specify one. If nothing is set, click Set default to configure it. If one is already set, you can Edit, Re-confirm, or Remove it. Re-confirm the destination at least every 90 days. Left unconfirmed, its status badge moves from a “re-confirm recommended” warning to an expired state, and automatic refunds stop working until you re-confirm. Only Owners can manage this — it’s not something you can grant through a Custom permission.